Have you gotten my free illustration tutorial yet?

I've created a FREE tutorial that covers:
My basic painting technique
How I use light (spoiler alert: it's ridiculously simple)
What included:
EPUB/PDF book
Original project file (PSD and Procreate)
You can get it here.
Here's what you need to know:
1. It's an interactive EPUB, as there are numerous image galleries that you can swipe through to follow along with the explanations in the text. It's also available in PDF format, but the PDF isn't interactive.
2. It contains small excerpts from both of my full-length tutorials, Volume 1: Autumn and Volume 2: Spring. If you already have them, there’s no need to get this!
3. Continue reading for more insight into my lighting process and for 50% off my brushes, full-length tutorials, and original art files at the end 😉
A Time-Saving Technique
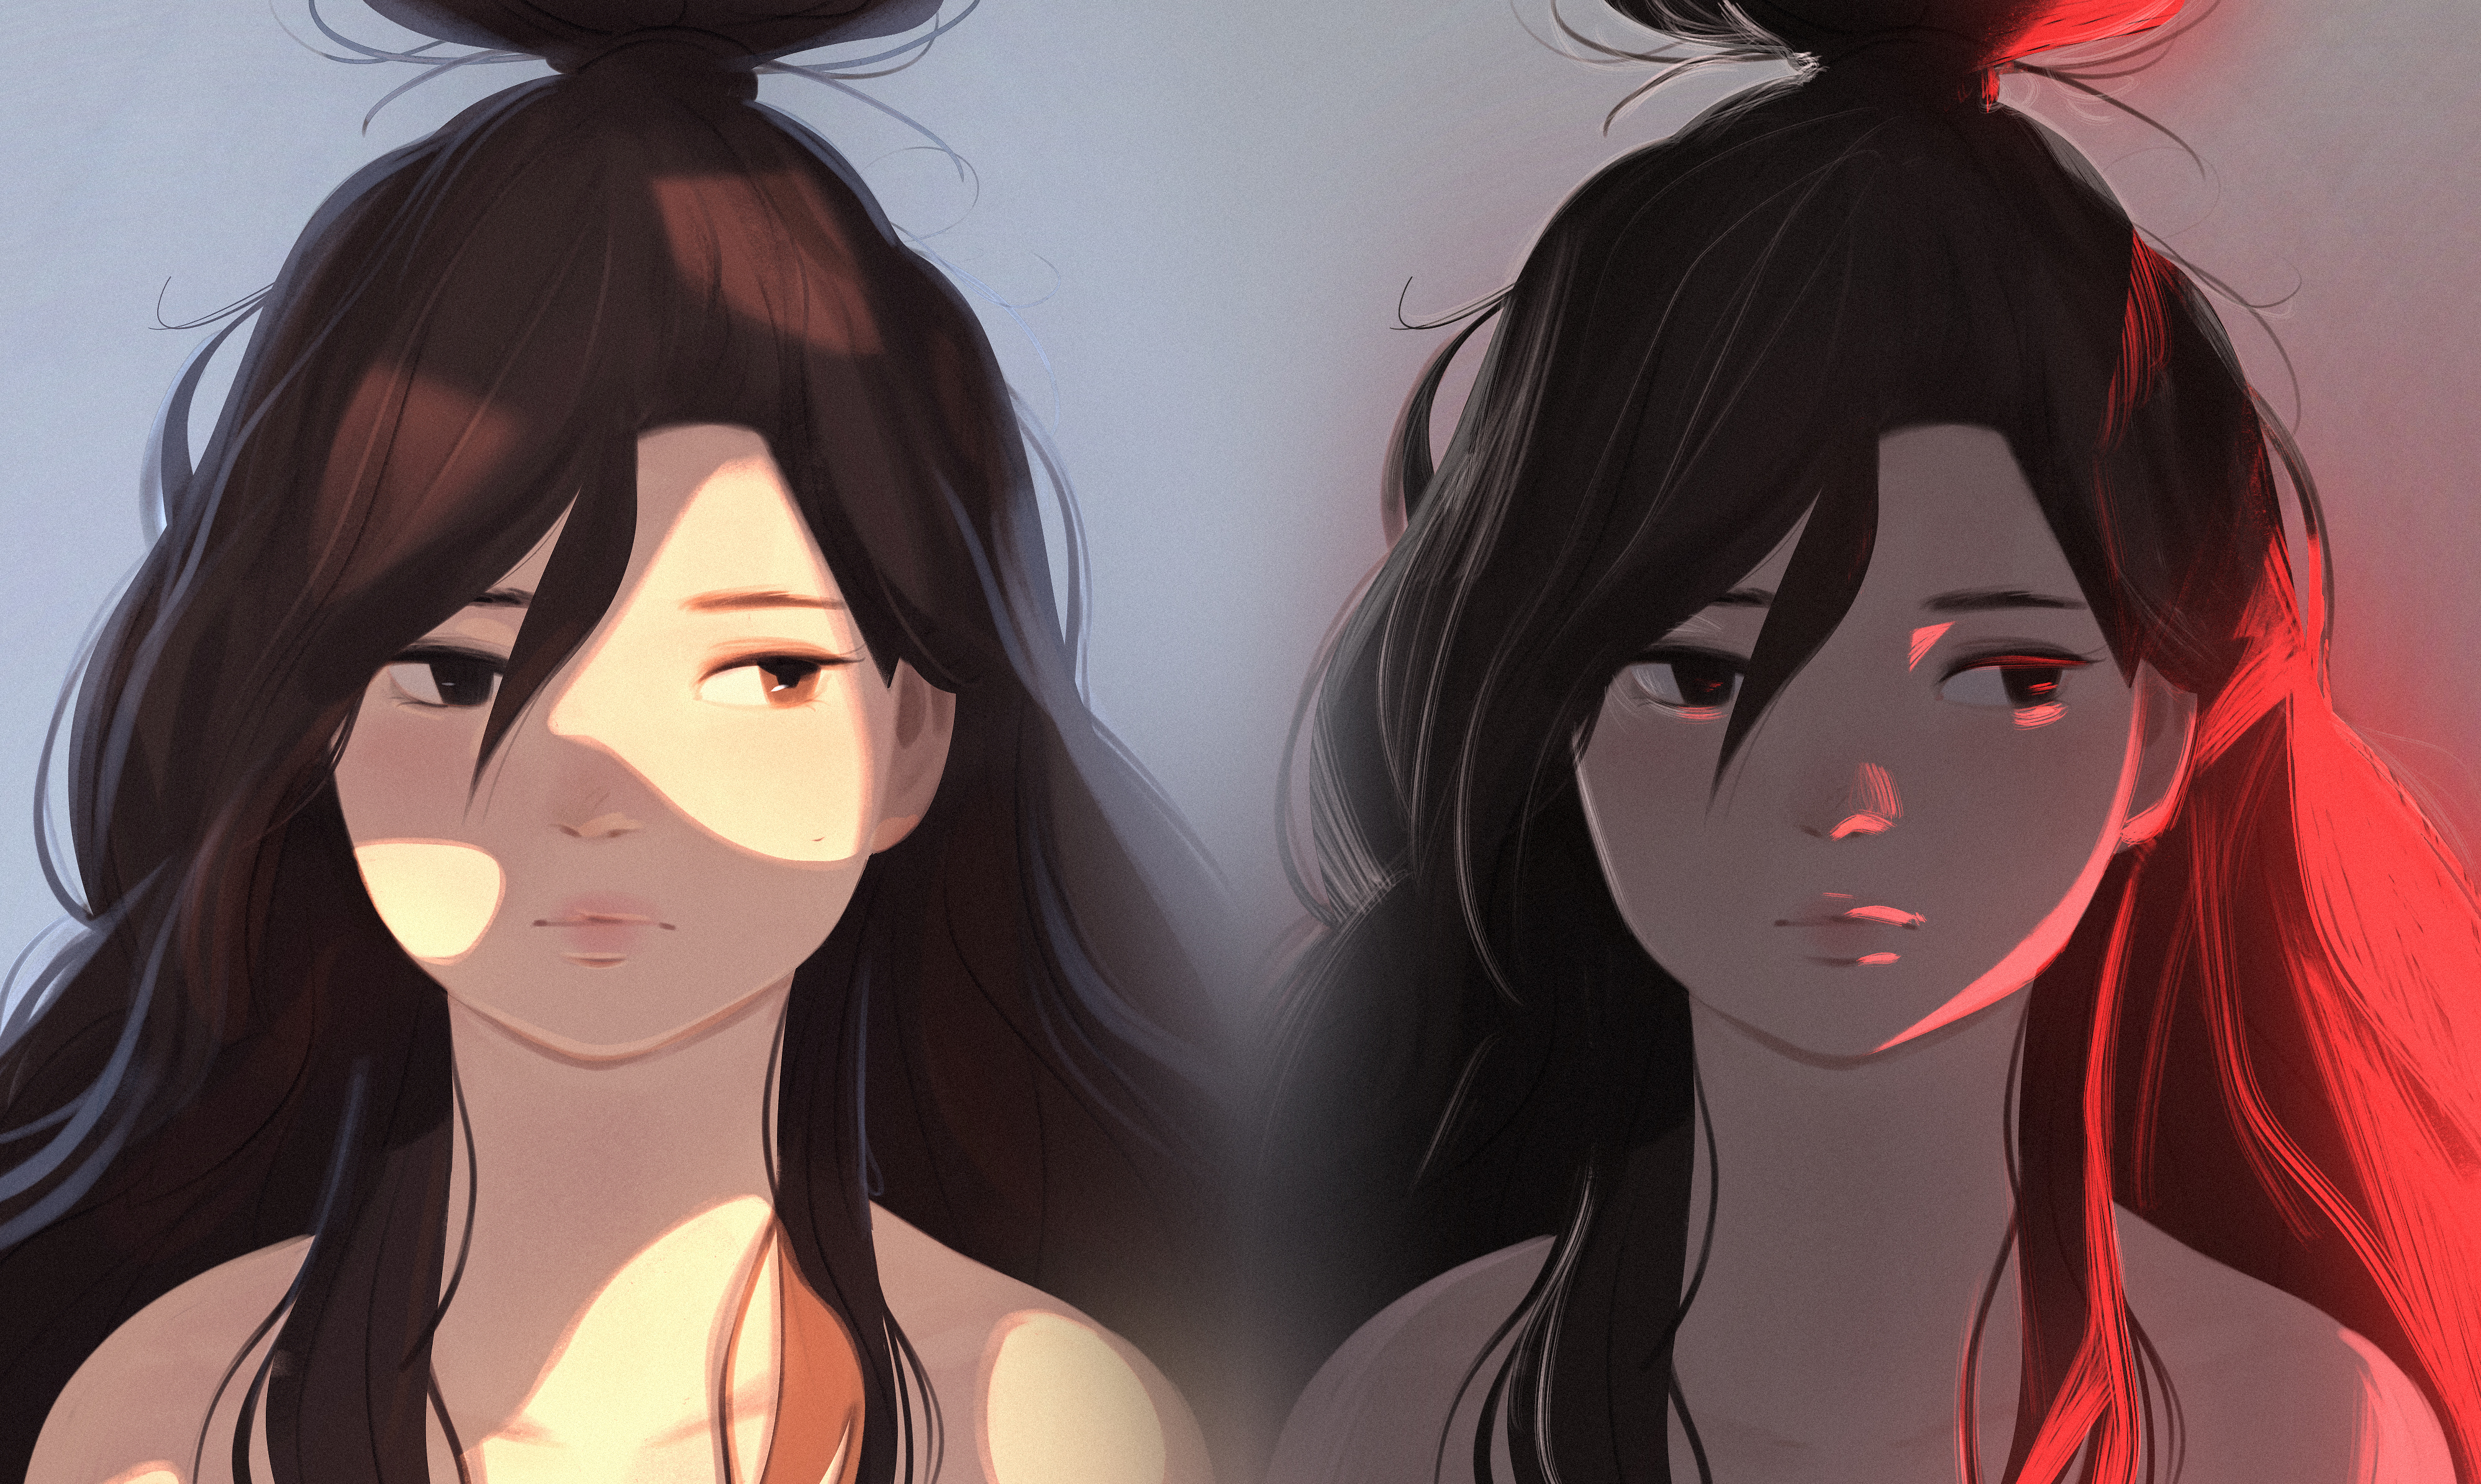
When you look at the two images portraits above, it's pretty clear that they came from the same under-painting. It would take way too much time to paint them individually, so what did I do?
Today, I wanted to share how I set up non-destructive lighting. If you're the type of artist who can't wait to dig into the original file and learn from there, just skip to view attachments at the end of this email and get digging. But of course I'd kindly ask you to read it start to finish!
Creating a Base Painting
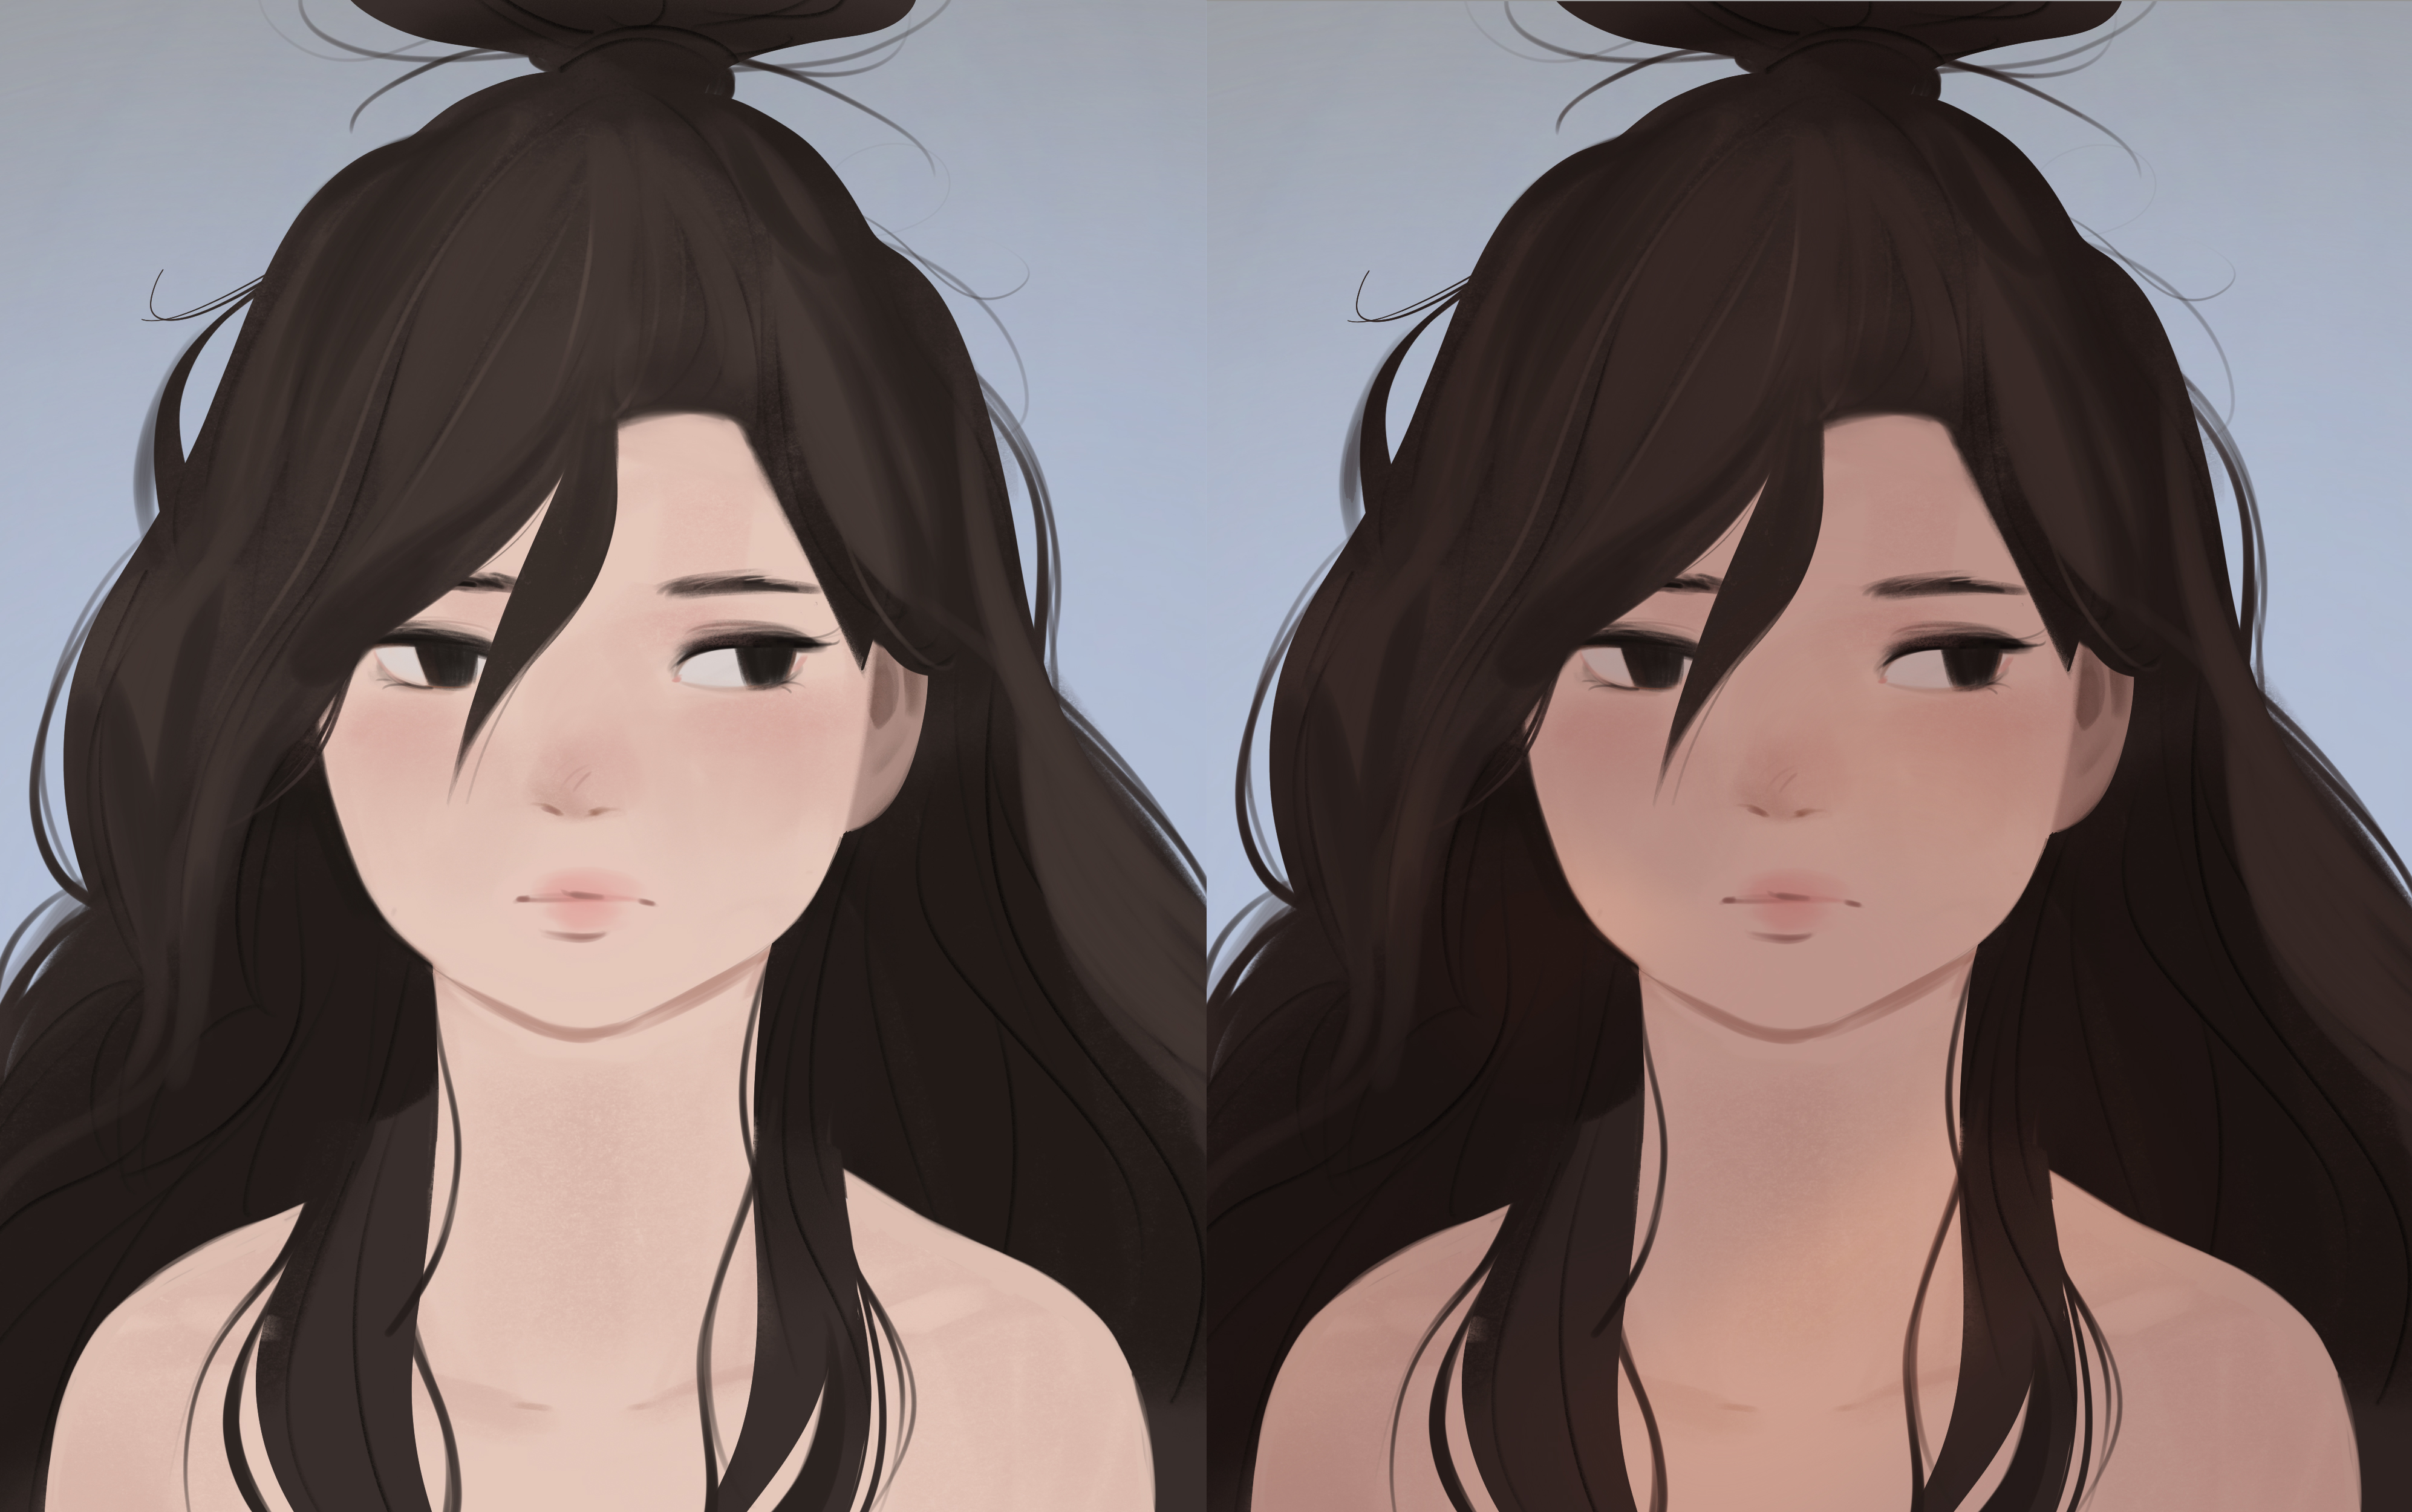
1. The first thing I did here was to create a base painting, on the left, above. To get there, I simply painted with normal layers and separated colors out with different layers as needed. This actually probably took the most time, sketching the portrait features, refining it, and creating basic colors.
2. I darkened the portrait, on the right, above. I used a combination of multiply and overlay layers. Using these blending modes is sort of an art hack. If you use a value that is 50% bright and slightly saturated for your overlay layer, it will unify all of your color choices as it shifts your painting's hues towards the color you selected. I usually use a warm hue, somewhere between red and yellow. This is a technique that amateur artists underutilize and that I've seen industry artists use all the time. It saves you a ton of time with color picking.
Color Dodge and Linear Dodge
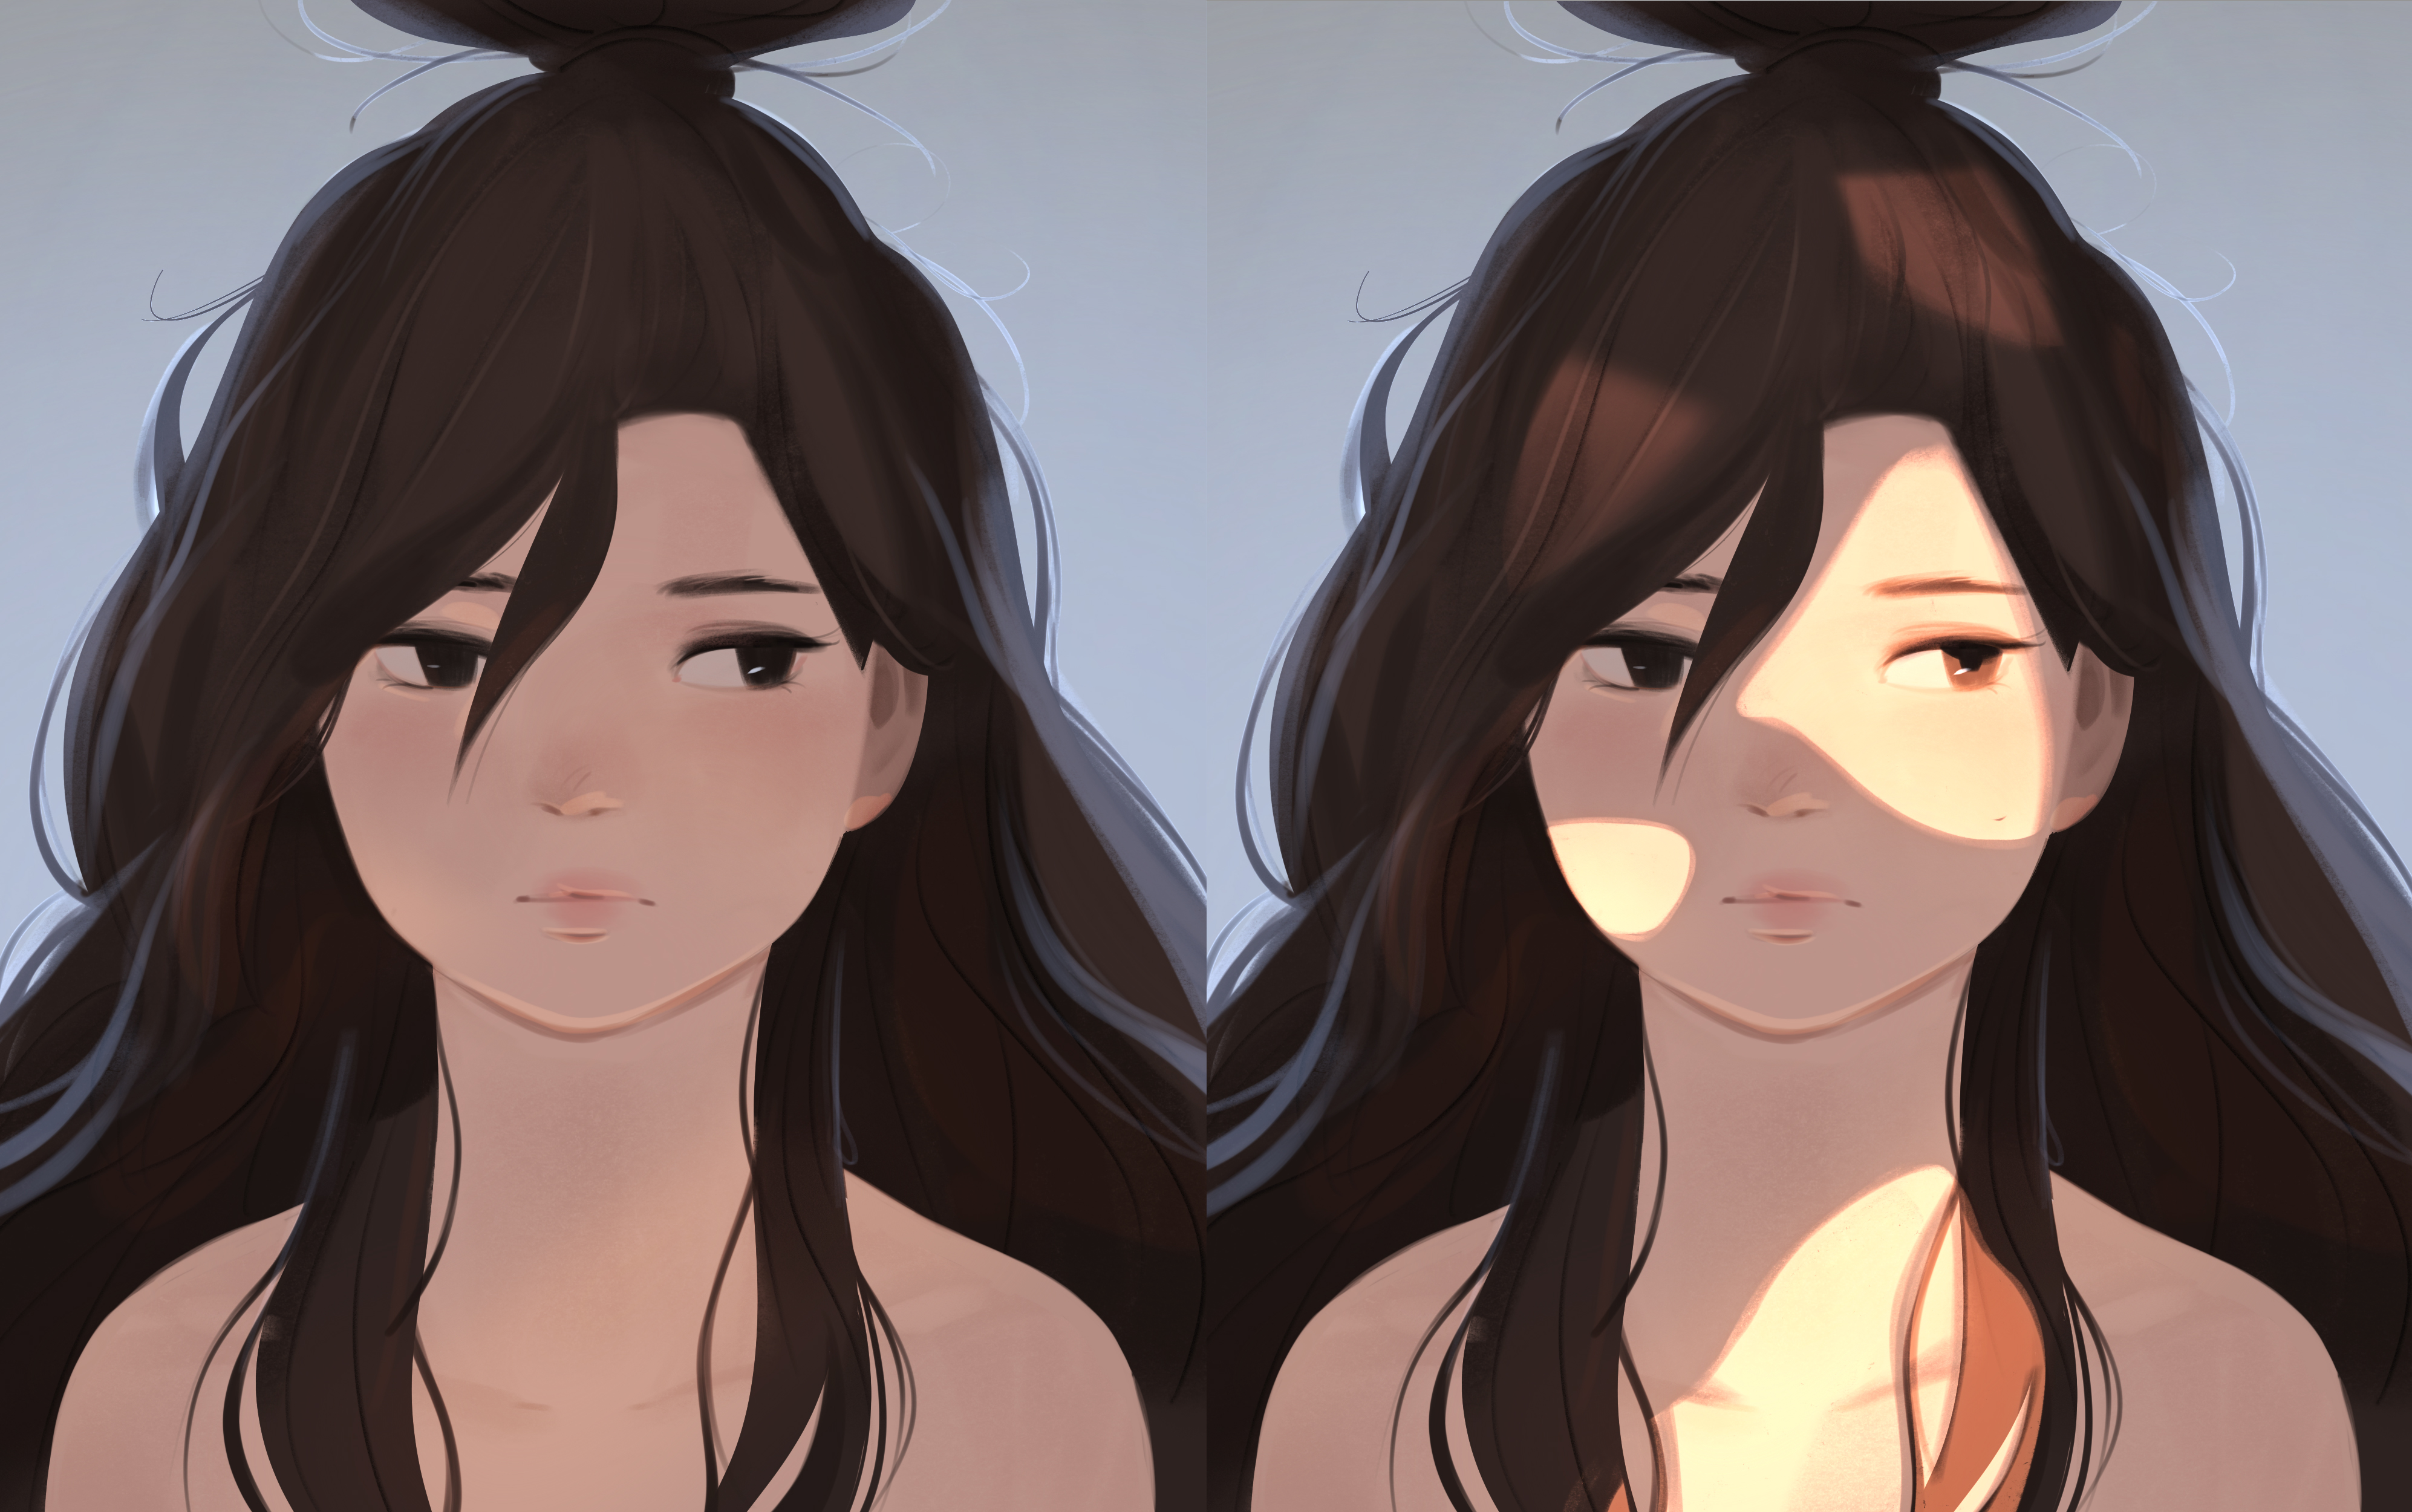
This is the real fun part of the painting, and it's where you get to go wild with your lighting choices. Color dodge and linear dodge are two very powerful layer blending modes. For my portrait, I wanted to have a dim blue back-light and a bright warm spotted foreground light.
1. For the dim blue back-light, I used a linear dodge layer and picked a color that was a dark and somewhat saturated blue. Then, I simply clipped the layer within the base-painting and painted away. As an artist, you have really feel the form of your subject. This part is almost like you're sculpting a 3-dimensional portrait out of a relatively flat base-painting.
2. For the bright warm spotted foreground light, I employed a similar approach with linear dodge and color dodge layers. If you're a fan of Ross Draws, you know all about color dodge time! Here, you can literally use it to establish the lighting of your portrait. For the foreground light, I used a brighter and more saturated orange.
3. With a careful eye, I began to consider how skin or hair would glow in light and added additional overlay layers while painting with soft brushes. I also used a normal layer and did quick corrections in certain places.
Did I Mention It's Non-Destructive?
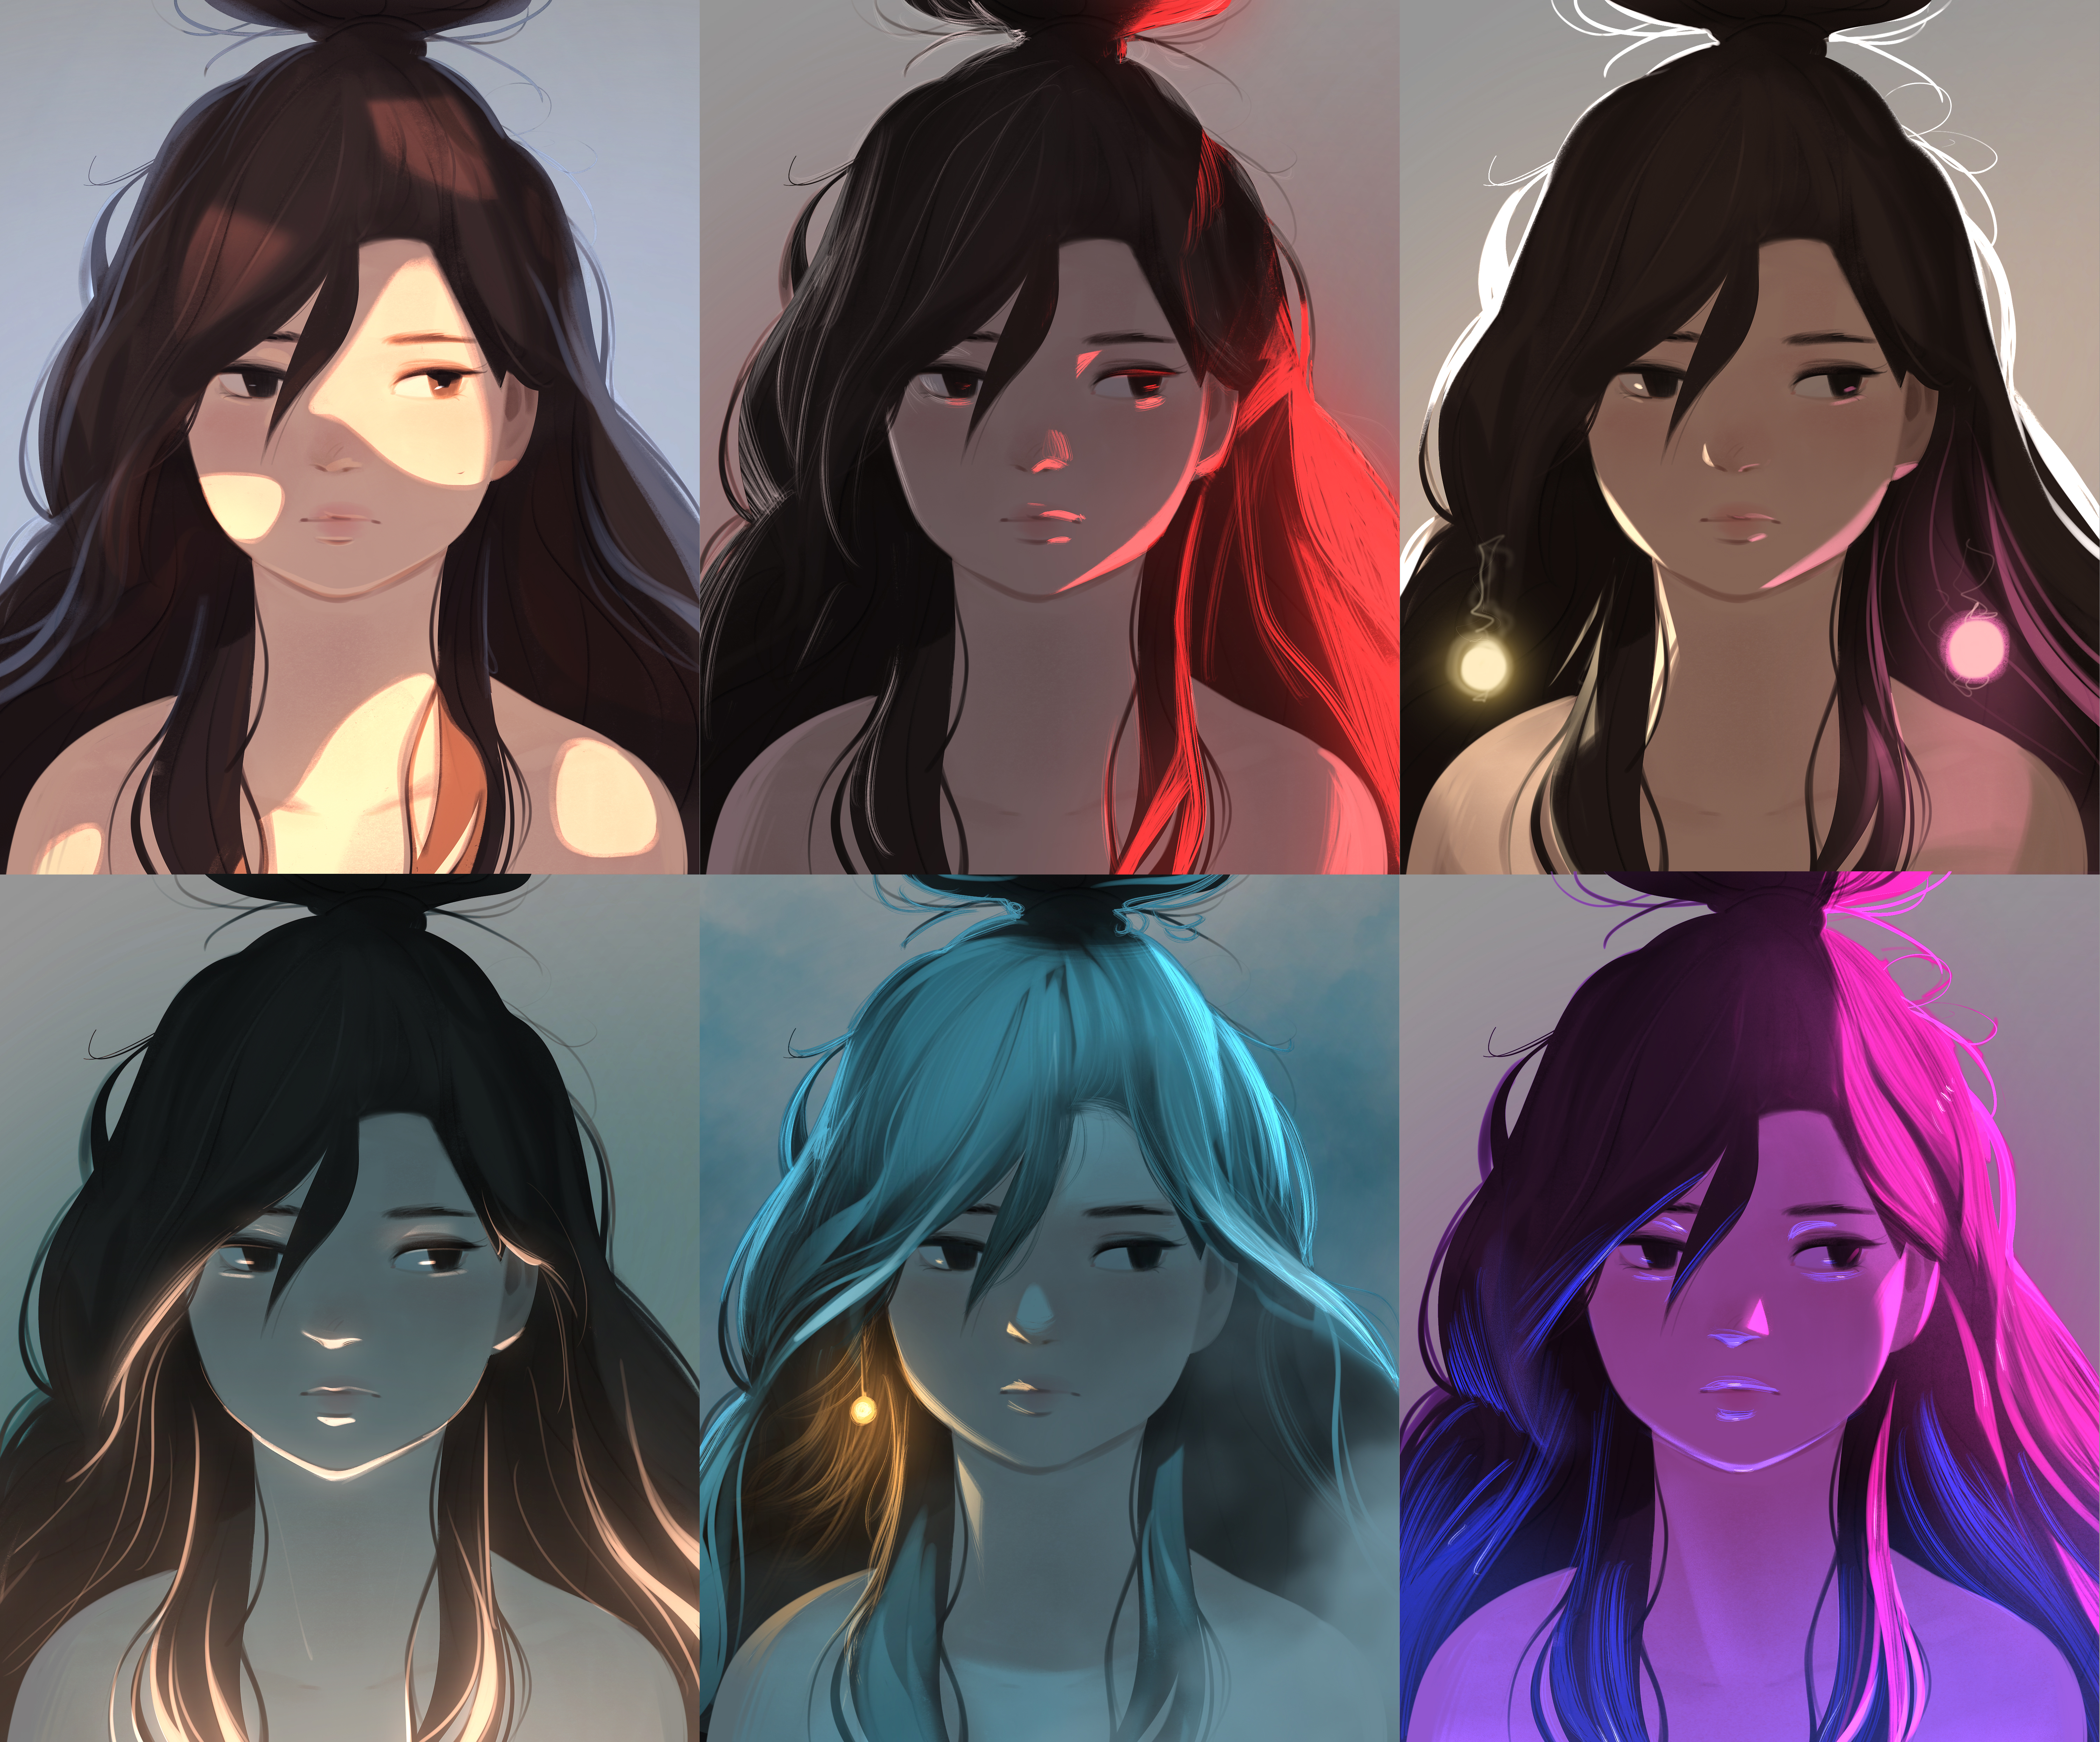
You can really just repeat this technique to create a plethora of different lighting schemes for your paintings. This doesn't just work on portraits but can also be used effectively for environment paintings. Plus, if you're unsatisfied with the colors, you can just...
Adjust > Color and Saturation. Boom.
Looking for More?
Get everything you need to bring your ideas to life with All Access+. Effortlessly command your favorite painting programs with feature-packed brushes, learn time-saving approaches to digital painting with my interactive tutorials, and understand how my illustrations are created by exploring their original files and videos.
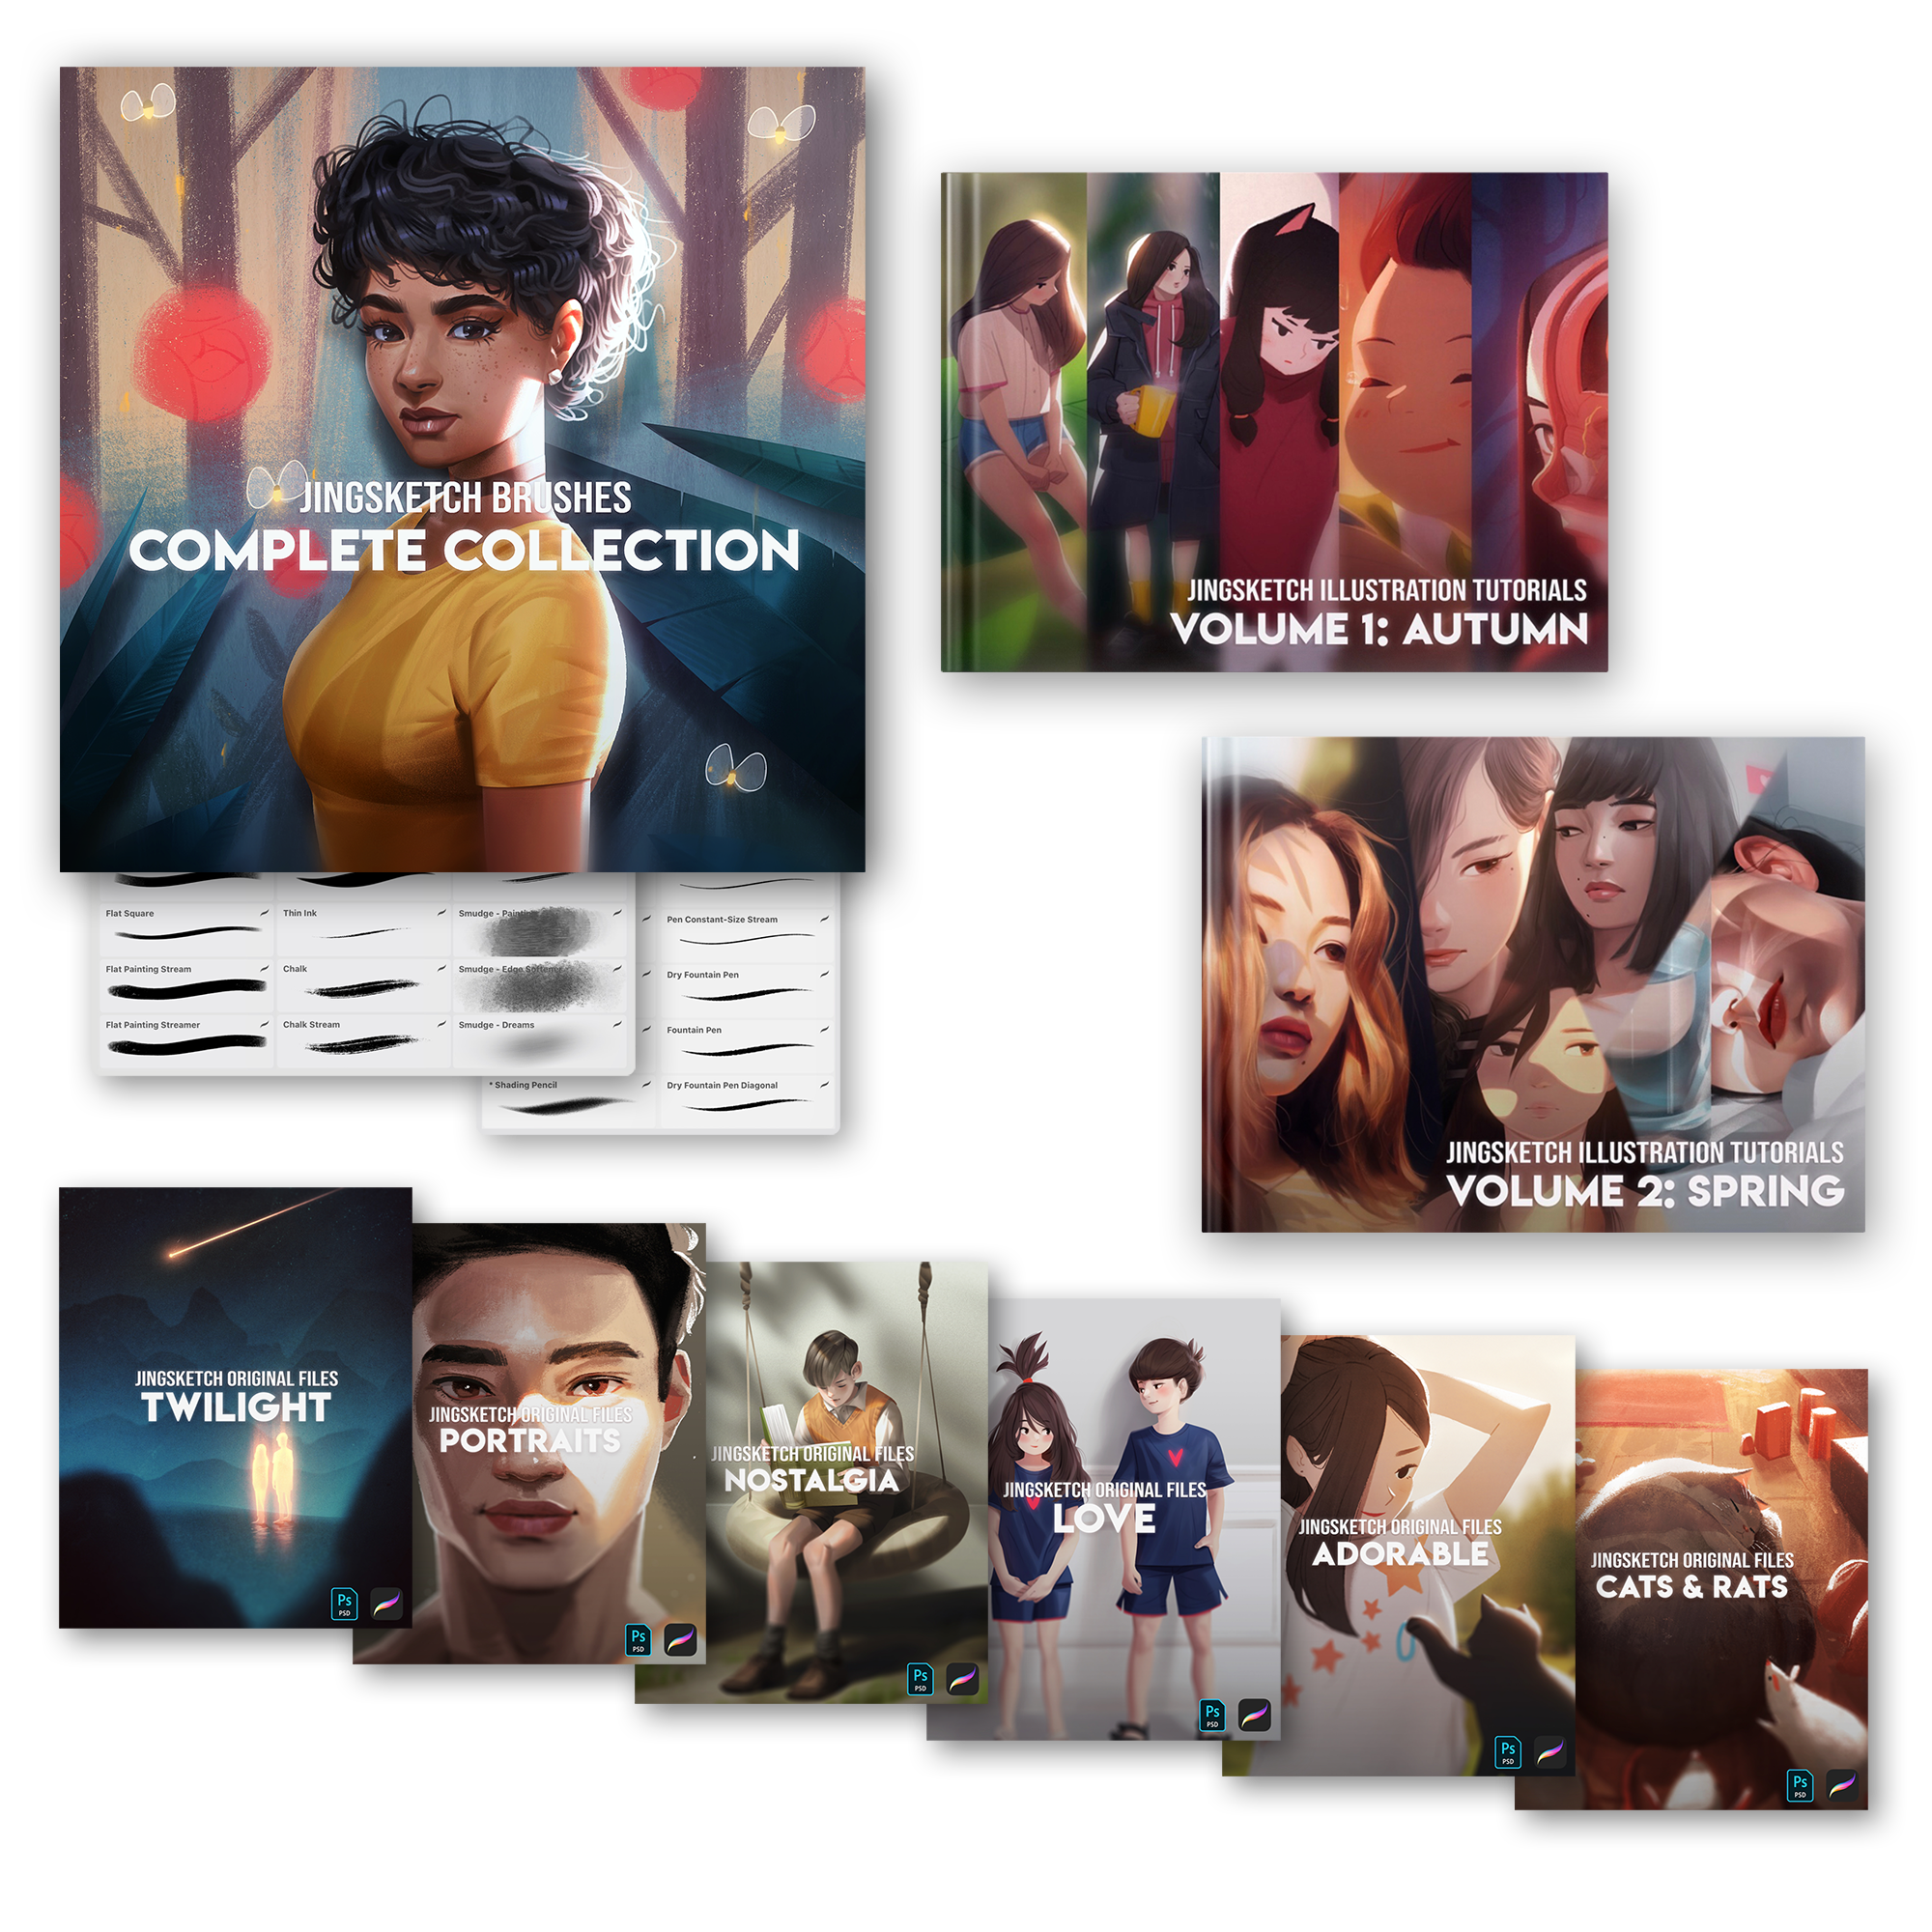
All Access+ includes all of my resources at a fraction of the cost. It's my ultimate all-in-one bundle with lifetime content updates, meaning you’ll have access to all of my future resources without a subscription.
For the next 7 days, you can get it for 50% OFF with the link below.
Get All Access+ for 50% OFF